Well….this happened on 24th September 2014..
Other than blogging I caught an interest of cake decorating. Though I used to bake cakes at home for gatherings, this was the first time I was baking cake for a crowd outside. It was my friend’s baby’s first birthday.
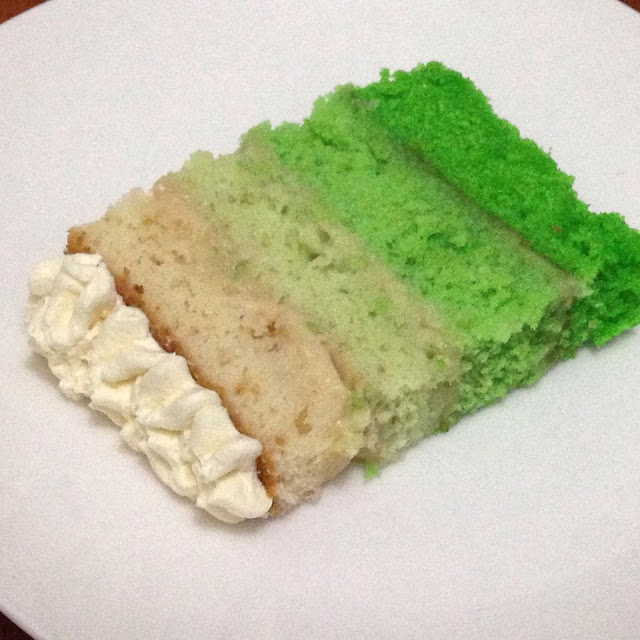
The color theme was green. So I decided to bake a ombre cake with butter cream frosting.
Cake flavor : Vanilla
Filling : Home made custard
Frosting: Meringue butter cream
A week before, I started the preparation of making the cake topper as it needs to dry well.
For the number cake topper you need,
- Green thick chart paper
- Scissors
- Glue
- Green color edible sprinkles/sugar
- A bamboo skewer
You have to,
- Cut chart paper in the shape of number 1. Make one more cut out of the Number 1.
- Place the bamboo skewer in between and using the glue stick the number cards together.
- Allow this dry well for couple of hours.
- Now brush both side of the cards with glue.
- Sprinkle the green color sugar or sprinkles. Make sure you cover all places
- Leave it on a parchment sheet or butter paper to dry well. It may look drenched… But after 2 days it will be dried well
- You could transport this in a box and insert it in the cake before the cake cutting.
24th September was day. I was getting more excited and nervous when the dates were nearing.
22nd Sep 2014, Evening
I baked 4 cakes with different colors. You could bake the cake 2 days ahead. Once it was cooled down well, cover very nicely with a cling sheet and kept in freezer.This will help the cake to become moist.
23rd Sep 2014, Evening
A day before I made the meringue butter cream and the custard. The custard was refrigerated once it is cooled down.
Now the cake , filling and the buttercream is ready. I decided to give myself a break because the next day is going to be very long. Before going to sleep (It was midnight by then), I took the cakes from freezer and left on kitchen counter
24th Sep 2014, Early morning
I woke up pretty early and started setting up the cake. This is how I did….
- Take 14 inch cake board and put a little bit of butter cream in the center of the board.
- Place the darkest shade of cake layer in the middle
- Fill a pipping bag with buttercream and make a small opening at the tip of the bag
- Pipe buttercream around the corner on the top of the cake to form a ring
- Then place the custard in the middle and spread evenly
- Repeat the same process with the rest of the layers.
- Once the white cake is placed, insert 3 wooden dowels for support,It is not mandatory, But as the cake is a bit taller, this will avoid risks of the cake layer getting slided
- Now take approx a cup of butter cream put on top of the cake..
- With a offset spatula spread a thin layer on top and the rest to cover the sides of the cake
- Refrigerate the cake for at least 30 minutes
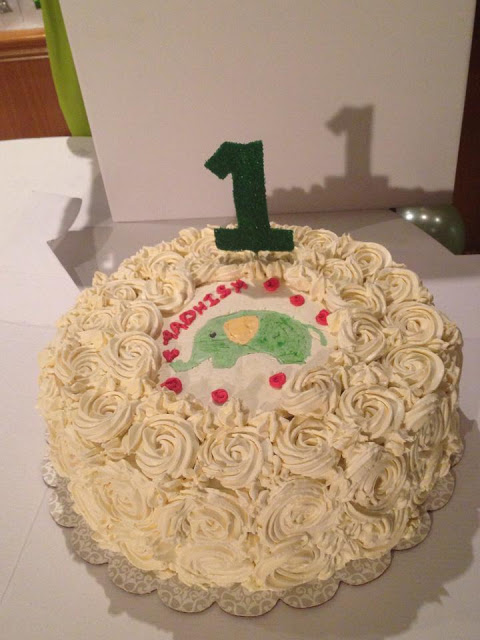
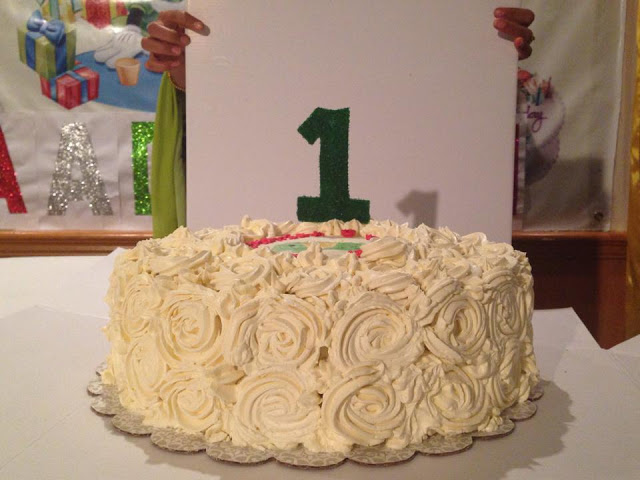
- Using a star nozzle pipe rose swirls around the cake..
- You could cover the whole cake with the rose swirls. As I need to insert the cake topper in the center, i left the center blank.
- Refrigerate the whole cake.
You can leave the cake out side on counter top. If the cake needs to be transported, it is better if you refrigerate the cake for at least an hour.
I took out the cake in the evening 4-5 hours before the function. This helped for an easy transport and there was enough time for the cake to thaw.
My Initial plan was to keep the cake as white with just the cake topper on it. But while driving back home from work, I got an idea of adding an image on top of the cake. As advised by one of friend, I decided to do a frozen buttercream transfer. It is the easiest method to transfer a drawing or an image on top of the cake.
You need,
Green Buttercream – 1 cup
Yellow buttercream – 1/2 cup
Black buttercream – 1 teaspoon
Butter paper – 1 square, which is enough to draw an image of a baby elephant
Pencil – 1
Steel plate – 1
Tapes to seal the paper
You have to,
- Take a butter paper and with a pencil draw an outline of a baby elephant, with its eye and ear on it. If you could check the cake picture above you could understand, it is a simple outline
- Place this paper on top of a flat steel plate such a way that the reverse side is facing us. Seal the edges.
- Use the yellow buttercream to fill ear outline.
- Use black buttercream for the eyes.
- Keep the plate in the freezer for 15-20 minutes.
- Now take out the plate and fill the rest of the area with green butter cream and keep it back in freezer.
- After 30 to 40 minutes take the plate out. Remove the sealed edges, slowly peel the butter paper and transfer the buttercream image on top of the cake.
It is done. My cake angels (2 of my friends) dropped in after a while and with therr help I drove extremely slow and arrived the venue.
I was excited but equally nervous..Clicked few clicks of the cake in my mobile camera…
And the journey continues….
To view the cakes I made so far please click here


Leave a Reply