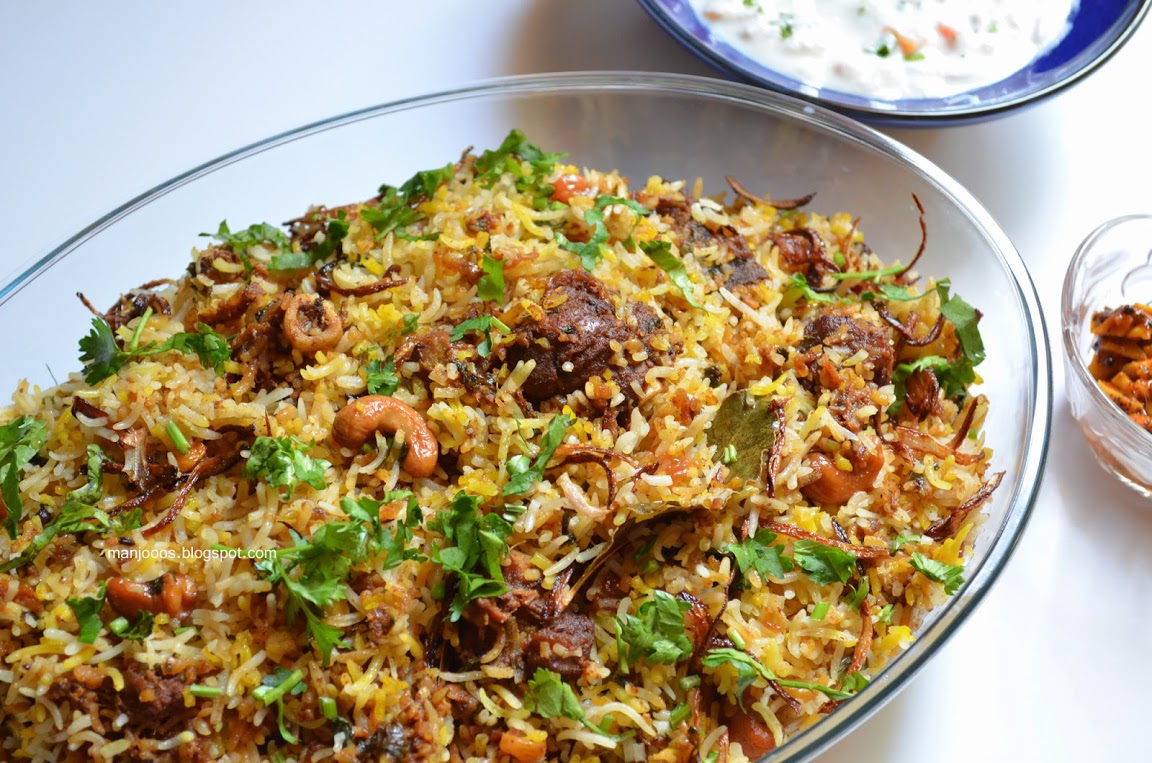
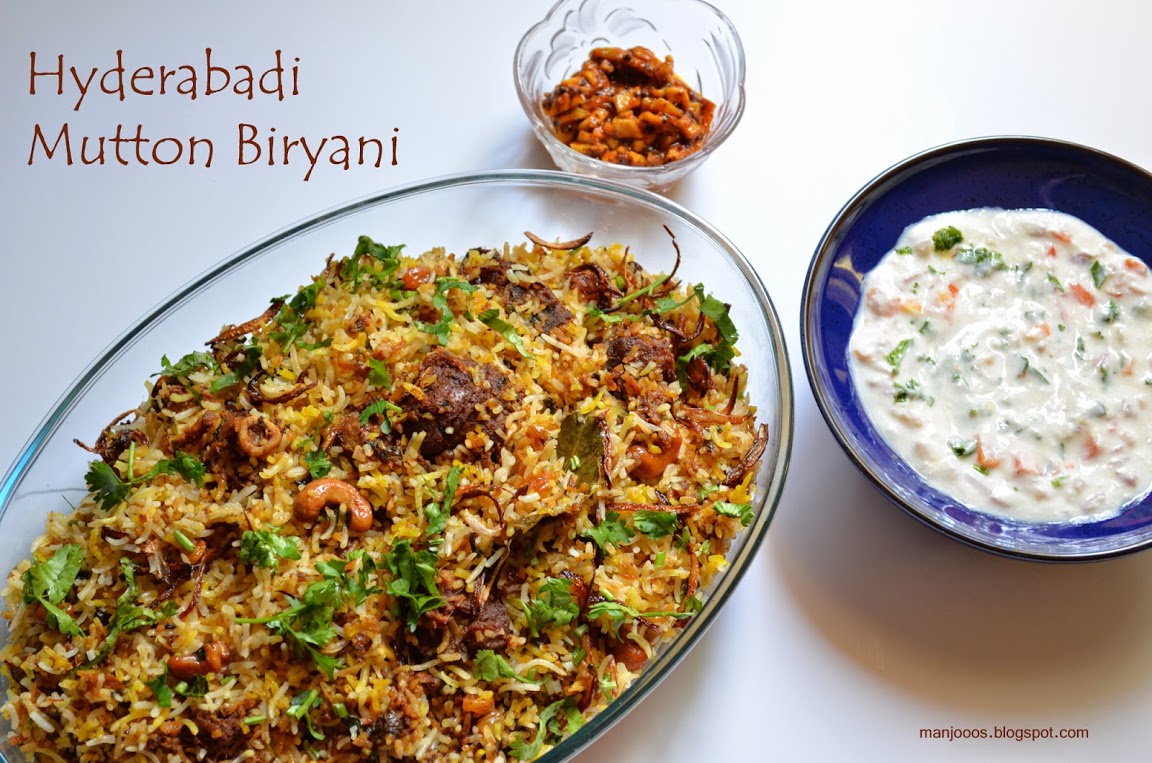
As all know Hyderabadi Dum Biriyani is very famous. And I was so lucky that my friend decided to prepare a Biriyani on one day. The Biriyani was prepared by her maid (who is basically a Hyderabadi). The cooking process started. I wasn’t allowed to do anything or help her. The maid want to do all the preparations by herself. And as a viewer it was so boring and I started to think why it is taking such a a long time. At the end when we got to taste, it was so nice.
But the real taste of biriyani I enjoyed was at the dinner. The resting time made all the aromas blend well and it was just yumm
So here is the recipe….This recipe should serve 2-3 persons
You need,
For Fried Onions, Cashews & Raisins
- Onions – 2 big thinly sliced
- Cashew nuts – 1/4 cup
- Raisins – 1/4 cup
- Refined Oil – to deep fry (1 cup should do)
For garam masala powder
- Caraway seeds/shahi jeera – 1/2 tsp (This is a mandatory ingredient)
- Cinnamon sticks – 1
- Black peppercorn – 1/4 tsp
- Cloves – 1/4 tsp
- Cardamom – 6
- Mutton chunks – 1/2 kg
- Ginger paste – 1 tbsp
- Garlic paste – 1 tbsp
- Yogurt/Curd – 1 cup
- Mint leaves finely chopped- 1 tbsp
- Coriander leaves finely chopped- 1 tbsp
- Red chili powder – 1 tbsp
- Salt to taste
For Rice
- Long grain basmati rice – 1.5 cups
- Salt
- Bay leaves – 2 nos
- Green cardamoms – 5 nos
- Mace – 1 piece
- Black peppercorns – 1/2 tsp
- Cinnamon sticks – 1
- Caraway seeds/shahi jeera – 1/4 tsp
- Lime – 2
Other ingredients
- Cinnamon sticks – 1
- Ghee – 2 tbsp + 2 tbsp
- Onions – 2 big sliced
- Cinnamon sticks – 1
- Black cardamoms – 2
- Mint leaves finely chopped- 1 tbsp
- Coriander leaves finely chopped- 1 tbsp
- Saffron – 1 pinch
- Milk – 1/4 cup
Let us do this step by step,
Step 1
- Heat oil in pan in a medium to high temperature
- Add sliced onions
- With a slotted spoon stir in between.
- Once the onions turn golden brown remove from oil and keep it in a dry strainer to remove the excess oil
- You have to keep 1/3 of this aside for garnishing (rest will be used for marination)
- Now add cashew nuts in the same oil.
- Once it is light brown add in the raisins
- Raisin will puff up.
- Remove all from oil and keep aside
Step 2
- Powder all the ingredients mentioned under “for garam masala” in a grinder.
- Keep it closed aside
Step 3 (Marination)
- Take the Mutton in a large bowl
- Crush the fried onions in your hand and add on top of Mutton
- Add the rest of the ingredients mentioned under “For Marination”
- Marinate well.
- Transfer this in a zip lock bag
- Leave it chiller for 2 hours. (Preferably overnight)
Above 3 steps you could do the previous day night. This will make the cooking process easy the next day
Step 4 (cooking mutton)
- Heat 2 tbsp ghee in a pressure cooker pan
- Add in cinnamon stick and black cardamom
- After 10-15 seconds add the sliced onions
- Saute well till the onions turn light brown
- Add in the Mutton along with the marination and in high heat fry well for few minutes
- Add 1/4 cup of water and cover the lid.
- Pressure cook for 5-6 whistles.
- Turn off heat and wait till the pressure of the cooker is done
Step 5 (Cooking rice)
- Wash rice in a colander.
- Keep aside to strain
- In a large deep vessel boil 10 cups of water with all the ingredients except rice which mentioned above, “For rice”
- Now slowly add the rice to the boiling water
- Add freshly squeezed lime juice
- Cook the rice till 3/4-th done.
- Transfer this to a colander and allow to rest.
Step 6 (You can do this before you start cooking the mutton)
- Warm the milk
- add the saffron strands
- Let it stand for 15 minutes
Step 7 (Layering)
- Heat 2 tbsp ghee (low flame) in a thick bottom vessel or large pan which can accommodate the rice and mutton.
- Layer 1/3 of rice evenly on the bottom of the vessel
- Spread little coriander leaves and mint leaves and mutton over the rice.
- Add the remaining rice and spread
- Now sprinkle the remaining coriander and mint leaves , saffron milk ,fried onions, cashews and raisins
- Cover the vessel with a lid
- If you have heavy vessel you can place on top of the lid.
- Cook this in a low flame
- In 30 – 40 minutes the biriyani will be done.
- Serve with raita and pickle
Notes:
- You can do the step 1, step 2 and step 3 on the previous day evening
- Try not cook any thing in high flame. Entire process is medium to slow. And that is what makes this biriyani yum


and here are the reviews!
the mutton biriyani doesnt taste and look like a maiden version by manjoos 🙂 it was yummy…
and we packed home some too.. truth be told, the taste was heavenly the next day, making us brood "had we packed heavy!" 🙁 🙂
Oh my dear!!!
Thanks a lot….I too found the biriyani tasty the next day!!!
So decided..next time i will make it early morning !!!